Sunday, March 22, 2020

Burda Style Magazine outfit: Pants and a Top


I made the top first (Burda 09/2019) and then the pants (Burda 02/2019) to go with it.

Primero cosí el pulover (Burda 09/2019) y después los pantalones (Burda 02/2019) para que hicieran un conjunto.


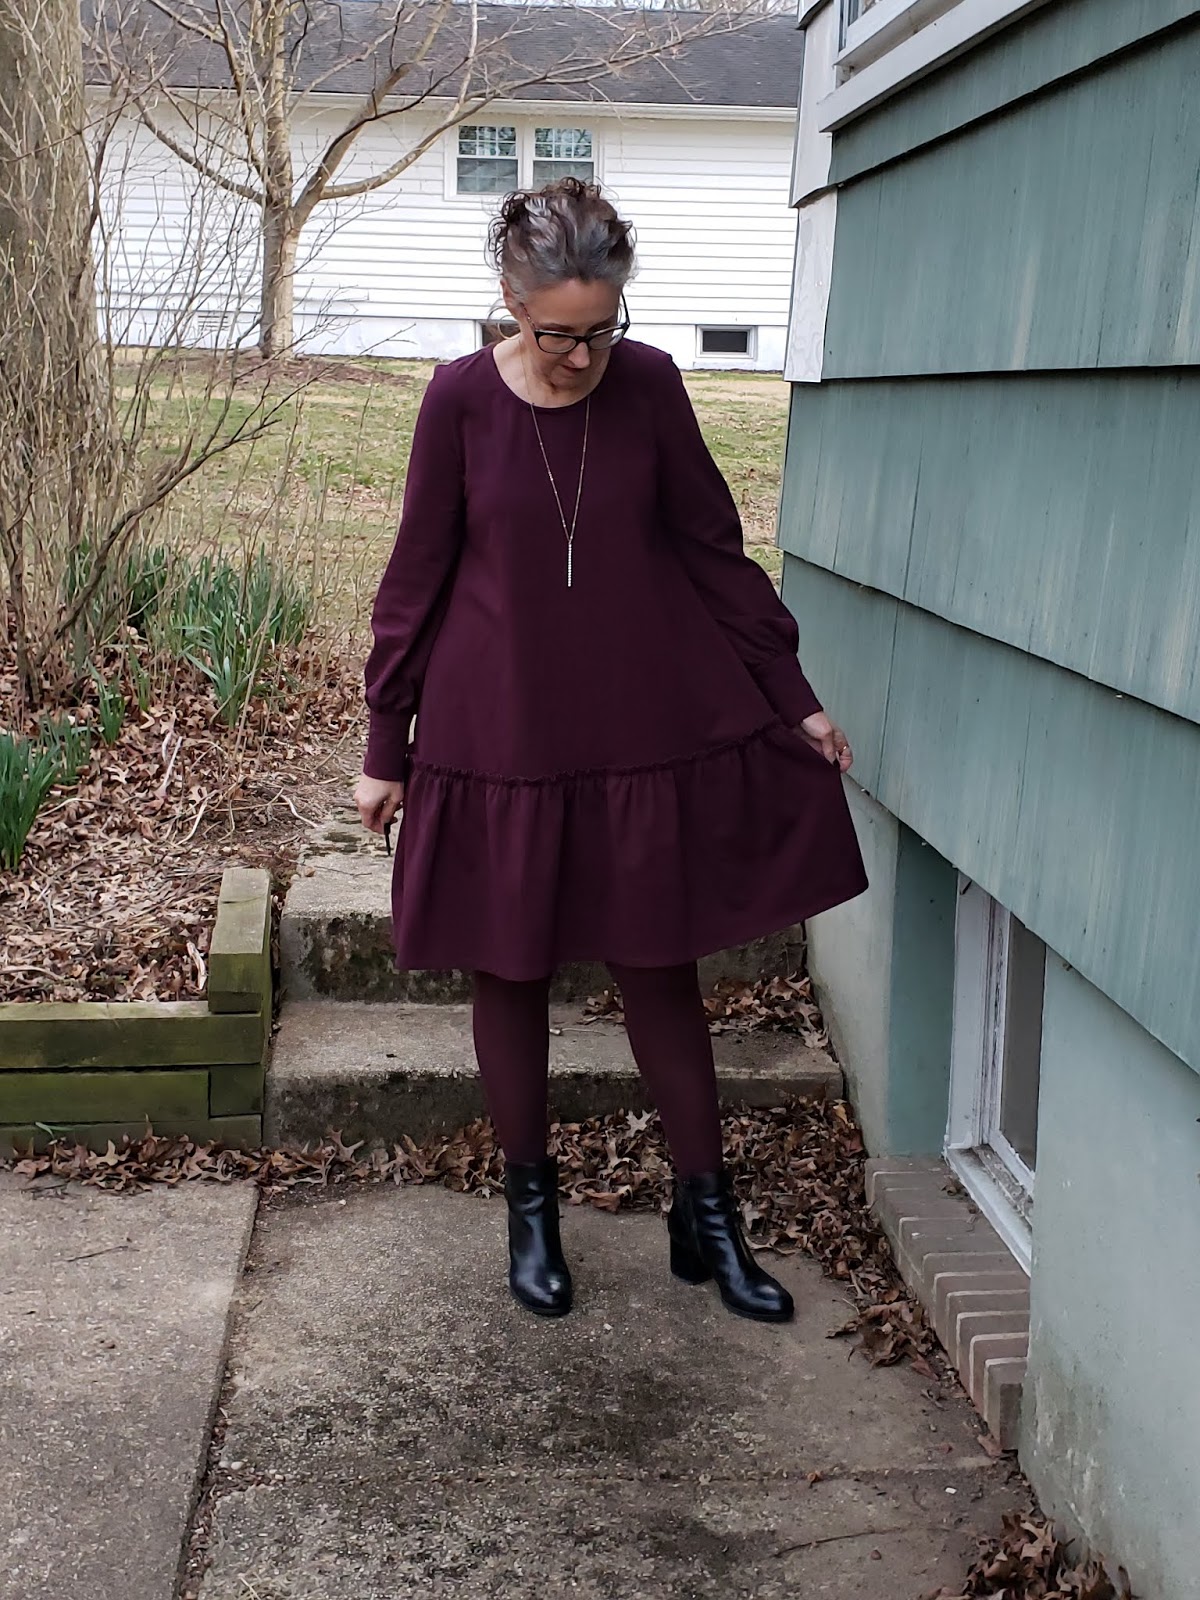
(I changed my shoes because I wasn't convinced I liked the boots with this outfit...the struggles haha)

(Me cambié los zapatos pensando que no sabía si las botas me gustaban con este conjunto...jaja)


Both fabrics were from stash, the knit is a rayon and the pants are stretch cotton (Emma one Sock from many years ago)


Las telas las tenía en la colección, un tejido con tencel muy ligerito y un algodón con lycra (de (Emma one Sock de años atrás)


The top:


I fell in love with the sleeves of this design, including the seam of the dropped shoulder.


Me enamoré de las mangas incluyendo la costura de boca manga.


I did not encounter any sewing issues. Note that there is a zipper in the back to allow for the fitted neckline look.

No fue difícil de coser. Fíjense que tiene un zipper/cremallera atrás para que el cuello quede bien pegadito.


The pants:


I liked the details of the waistband which makes these pants a little different. A lot of tops are being tucked in right now so I thought I could really show off the waistband.


El adorno de la cintura me llamó la atención especialmente que ahora está de moda usar los pulovers/blusas por dentro.


The challenge for me was doing pattern matching since my fabric is a small plaid. I'm happy with my efforts.


La parte más difícil fue al cortarlo y coserlo tratar de coordinar los cuadritos. Estoy contenta como quedó.


I am consciously making outfits when sewing, not that these two pieces couldn't work with many others in my existing wardrobe, but at least I have one set pairing.

Estoy tratando de no dejar piezas huérfanas en mi closet y por eso me esforcé en hacer el conjunto. Por supuesto tengo otras cosas que puedo coordinar con estos pantalones y pulover.


Couldn't resist to include a picture of my loafers...love them!


Los dejo con una foto de mis zapatos...me encantan!


Friday, March 20, 2020

New Look 6525 Knit dress


I made this pattern back in December 2018 and for no particular reason never wore it until recently.

Cosí este vestido en diciembre del 2018!! y no llegué a estrenarlo hasta hace unas semanas, no me pregunten por qué.


Worn with RTW cardigan


I did not have any issues with it, made my usual alterations. It is fitted in the upper body but of course it swings out as you can see. Check how much you wanted it to swing out and consider using a very drapey fabric. I used a heftier single knit because I wanted it to be on the warm side for winter wear. While I like my dress it does flare out quite a bit.


Todo fue bien en la hechura haciendo mis ajustes típicos. Este diseño es entallado en el pecho y hombros pero abre muchísimo más allá de la cintura. Midan bien para que no les quede super ancho y recomiendo que usen tela de punto con mucha caída. Yo usé una tela bastante gordita pues quería que me mantuviera calentita en el invierno, y por lo tanto la salla tiene bastante volúmen.


The gathered skirt took time and patience but it was not difficult to attached to the body.


El vuelo tomó su tiempo de unir al cuerpo pero no fue difícil.


With my ever vigilant companion

Wednesday, January 22, 2020

Burda Style Magazine 8/2014 Style #128 Coat try on


Here are the pictures I took last spring (that's why the sandals in case you were wondering) after I finished my coat.

Aquí están las fotos tomadas la primavera pasada (por eso llevo sandalias) después de haber terminado mi abrigo.


I'm very happy with the finished product.

Estoy muy contenta con el producto final.

Tuesday, January 14, 2020

Burda Style Magazine 8/2014 #128 Coat

Last spring I finished my second tailored coat (here are the posts that followed my journey into my first coat making which was part of a sew-along many years ago). The fit on this coat was a lot more relaxed than the first coat I made so the tailoring was softer. I did it with fusible interfacing and some machine "pad stitching". As usual I depend on the book Tailoring - The classic Guide to Sewing the Perfect Jackewhenever I tackle any type of tailoring.


La primavera pasada terminé otro abrigo. El primero que hice fue parte de un "sew along" que me ayudó muchísimo (here pueden ver el proceso en el link "here") Esta vez los detalles de sastre no fueron tan intensivos como en el abrigo anterior, usé entretelas fijadas con calor en lugar de con puntos a mano. Como siempre usé como referencia el libro Tailoring - The classic Guide to Sewing the Perfect Jacke


Shell without lining


Burda instructions have you cut the undercollar in one piece. I had a feeling that it was better to cut in two pieces on the bias and Tany (read her wonderful blog) answered my question on Instagram and confirmed that it allows for better roll of the cloth.


Las instrucciones the Burda te guían a cortar la pieza  del cuello en una pieza. En mi experiencia es mejor cortar el cuello al bies y en dos pedazos para que encaje mejor. Le pregunté a Tany (lean su blog, es maravillloso) por su opinión y me dijo que ella siempre transforma los cuellos de Burda a dos piezas.


There's a dart under the collar that adds shape and which I have seen in other designs. This is the kind of detail that I love about Burda patterns.


Hay una pinza debajo del cuello. Este detalle ayuda con el entalle y es una de las razones por las que me encantan los patrones de Burda.


The fabrics are a wool coating, silk lining and cotton flannel. I lightly quilted the flannel to the silk to add extra warmth.


Las telas son tela de abrigo de lana, seda para el forro y franela de algodón. Yo con puntadas alrededor de ciertas flores del estampado uní el forro a la franela para agregar insulación al abrigo.


You can see the quilting in the pictures of the hem below.

Pueden ver las puntadas en las fotos de abajo


The inseam pockets are topstitiched to the front.

Los bolsillos llevan pespuntes al frente del abrigo.


The back pleat had me scratching my head for a bit but it look different than I had made before.

La construcción de la abertura de atrás me confundió un poco porque es distinta a lo que he hecho anteriormente.


Here is the final look

Aquí ven como se ve


And here how it looks inside before attaching the lining

Aquí ven como se ve por adentro antes del forro


I followed the instructions from Paukshte Sewing Workshop (link is to part two on finishing the hem). I'm loving the results! Highly recommend these videos.


Seguí las instrucciones de Paukshte Sewing Workshop (Parte II que cubre como hacer los dobladillos). ¡Me encanta como quedó! Les recomiendo estos videos.


To keep the clean lines of this design I chose to keep the closures as shown in the magazine. I used large beautiful snaps.


Para mantener el estilo simple de este diseño agregué broches de presión como recomienda Burda. Estos broches bellos los encontré en New York.


Next post I will include pictures of the final product on me. Of course they are also available on Instagram.

La próxima vez les enseño fotos del abrigo puesto. También pueden verlas en Instagram.


Monday, January 06, 2020

Burda Style Magazine 2/2013 Knit top No 127

I pulled out this issue to make the wide leg pants (already made but need to be photographed!) and I remembered that I had made the dress version of this top so I decided to make the top.

Cuando saqué esta revista para hacer los pantalones de pata ancha (ya están hechos pero necesito tomar fotos) me acordé que había hecho el vestido y decidí que necesitaba un nuevo pulover.


The flower print is from Elliott Berman Textiles, the solid was in my stash (a rayon knit). The shirring on the sleeve in the front and back makes this pattern a little different and it gives a nice fit to the bodice. Note that the sleeves are really long, I cut off about 3 inches.

Este bello estampado viene de Elliott Berman Textiles, la otra estaba también en mi colección (es una tela de punto de rayon). El recogido en las mangas, en el frente y atrás es un detalle que distingue este patrón y entalla bien el corpiño. Las mangas son bien largas, les corté como 3 pulgadas.


This one is a keeper.

Me encanta este diseño y estoy segura que lo volveré a confecionar.

Monday, December 30, 2019

Vogue 1647 A jumpsuit


This is a Paco Peralta design for Vogue Patterns, his last design. I loved the design from the beginning and after seeing Tany's version I decided to make mine right away. I'm wearing a RTW thermal top under the jumpsuit.


Este diseño de Vogue es el último de Paco Peralta. Me encantó desde que lo ví la primera vez y después de ver la version de Tany decidí hacerlo enseguida. En las fotos tengo un pulover debajo.


I used a rayon blend double knit, one of the fabrics recommended. I made a muslin to insure a good fit and I'm so glad I did. One of my usual alterations is to add length to the bodice but with this design I ended up removing the 1 1/2 inches I had added.

Usé una tela de tejido de punto doble que es una de las telas que recomienda el patrón. Hice el diseño en muselina primero para estar segura de que me quedara bien pues hay que tener cuidado con el largo de talle. Menos mal que hice una prueba pues la pulganda y media que yo siempre agrego tuve que quitarla.


This pattern requires precision sewing when inserting the bias strips in the seams (I used black linen) but if you follow the instructions you should not have any problems.

En este diseño hay que tener mucha precisión al ponerle el adorno en las costuras que son tiras cortadas al bies. Yo usé tela de hilo en negro.


The bodice has a lining

El corpiño lleva forro.


You can make this pattern without using the bias strips on the seams but I really love how they define the beautiful lines of this pattern.

Este patrón se puede hacer sin el adorno de las costuras pero a mí me encanta como define este bonito diseño.


I highly recommend this gorgeous design.

Les recomiendo este bellow diseño.